[ad_1]
To prevent accidental changes to a track in GarageBand, you can use the lock feature on Mac. Then when you’re ready to work on that specific track again, you can unlock it just as easily.
While you can use this feature in GarageBand on Mac, it is not currently available, as of this writing, for GarageBand on iOS. So if you’re composing music on your Mac, here’s how to lock and unlock a track.
Enable the lock feature
Before you go searching in GarageBand for the lock button, make sure that it’s enabled.
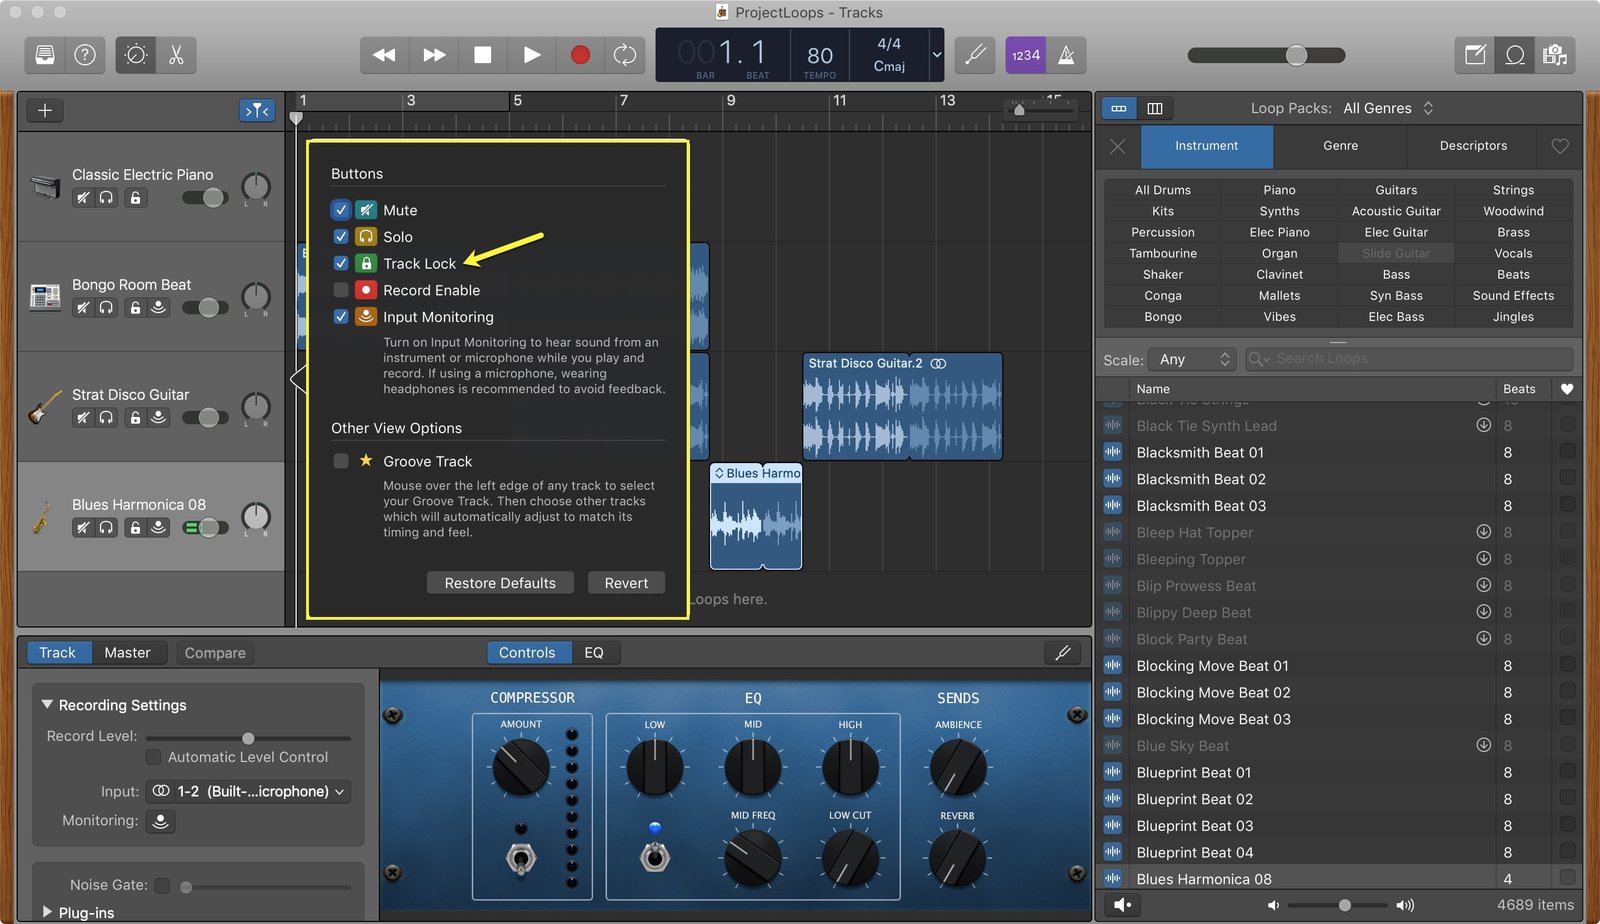
1) Open GarageBand and then click Track > Configure Track Header from the menu bar.
2) Check the box for Track Lock.
Lock and unlock a track
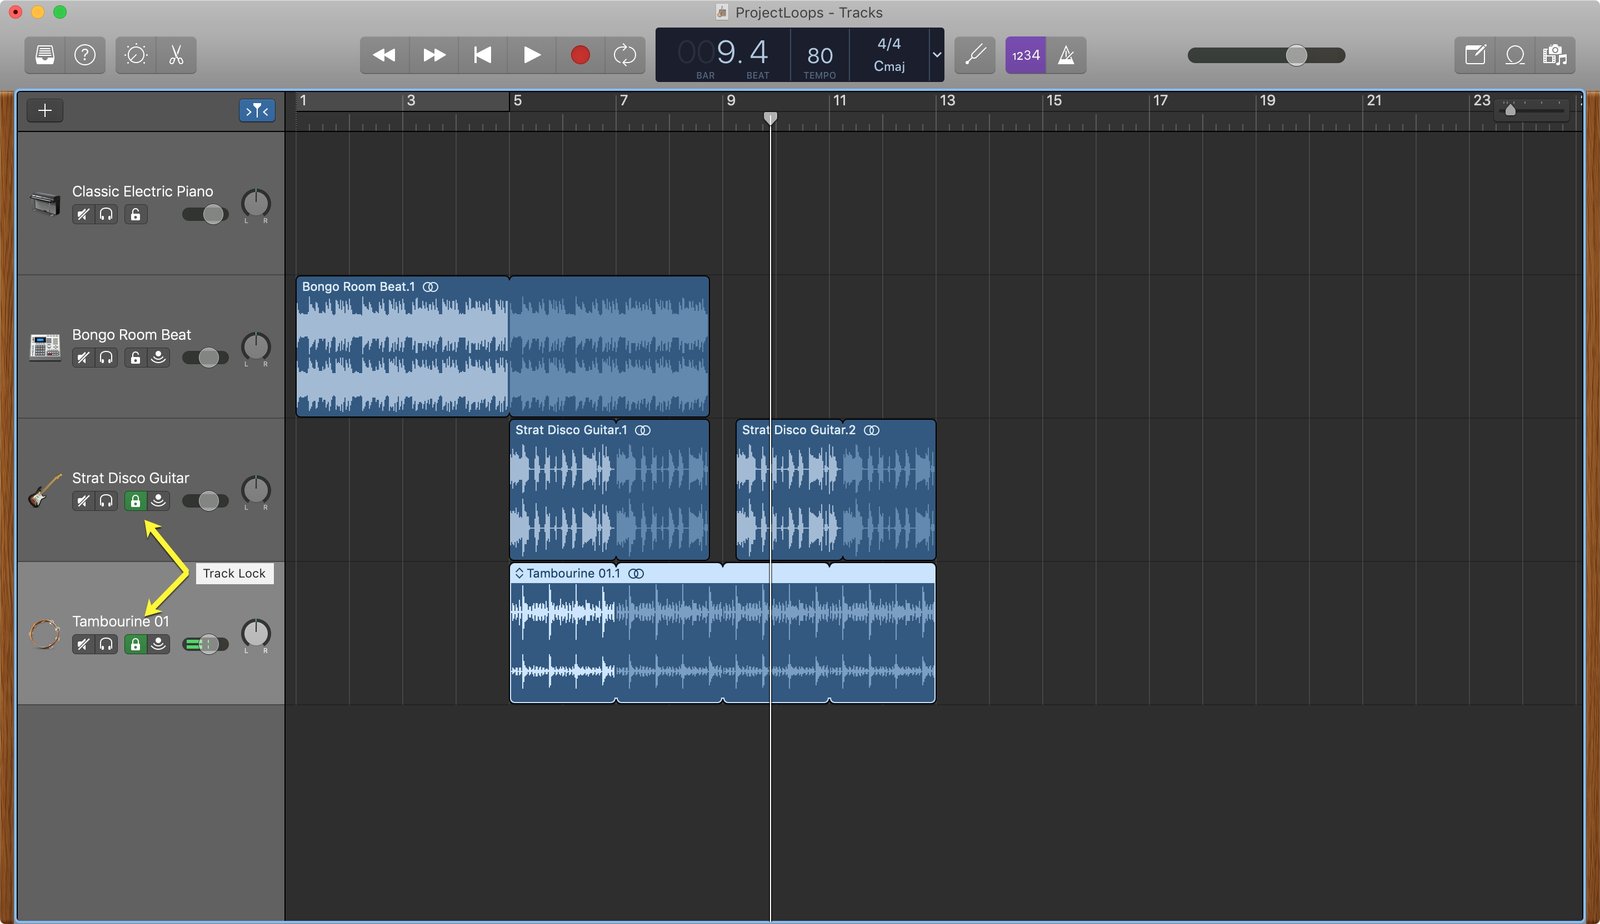
Once you enable the Track Lock, you’ll see the buttons display in the track headers. Click to lock and the button will turn green. And of course, to unlock, just click again so the button turns gray.
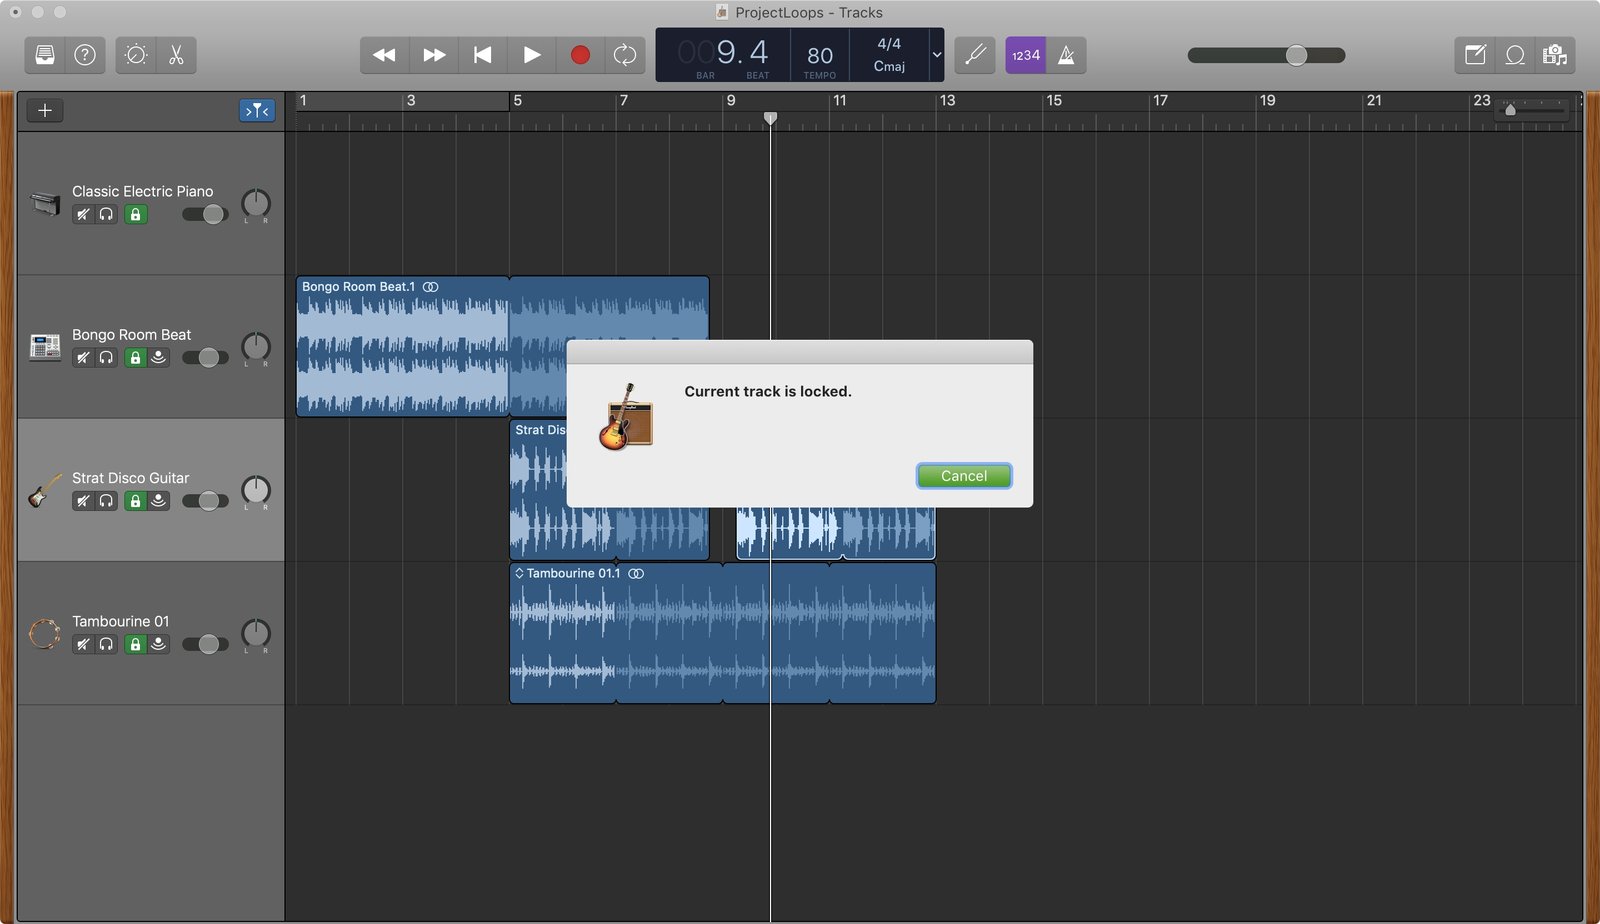
If you attempt to move, edit, delete, or do anything else with a track while it’s locked, you’ll receive a pop-up message reminding you that you need to unlock it to make changes.

Lock and unlock multiple tracks at once
If you want to lock all of the tracks in your project, you can certainly click the lock button for each. But you can actually do it much faster.
Click one lock button then drag through the rest of the tracks. You’ll see them all lock in one fell swoop.
And you can unlock several tracks at once the same way.
Wrapping it up
Hopefully this feature for keeping your songs safe will come to iPhone and iPad soon. But for now, you can make sure accidental changes to your tracks won’t happen in GarageBand on Mac.
If you’re interested in learning more about using GarageBand, check out how to download and add Apple Loops to songs in GarageBand.
And if you use the app often and would like to share some tips of your own with GarageBand beginners, feel free to leave a comment below!