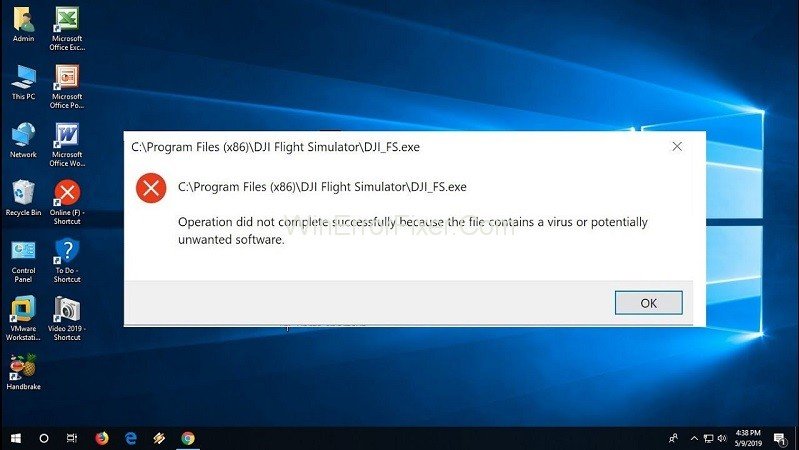
ERROR_VIRUS_INFECTED, this pop up is to fear us out. The main threat to download a file or folder is to avoid damage to the functioning of the system. Thanks to our antivirus software, which saves us from this Virus and protects the malfunctioning of the system. This software doesn’t allow the entrance of infected files in the system and sometimes beware us with: Operation did not complete successfully because the file contains a virus.
However, there might be a situation where it ceases the entrance of known files as well. It happens so as it assumes every unverified external file as a menace.
How to Operation Did Not Complete Successfully because the File Contains a Virus Error
For a sure file, if such a message’ Operation did not complete successfully because the file contains a virus comes up on the screen, the following fixtures can be used:
Solution 1: Disable Windows Antivirus Program
To approach the cause of Virus, the first step is targeting window defender, the very own antivirus software of windows. Following steps need to be followed to temporarily shut down the windows defender:
Step 1: First of all, go to Settings through the START button. Or, you can use shortcut Windows key+ I.
Step 2: Within settings, search for update and security. And then move to windows security.
Step 3: In the right pane, click on ‘open windows security‘.
Step 4: Now, go for ‘Virus and threat protection’. Under the head ‘Virus and threat protection settings’, select ‘Manage Settings’.
Step 5: Finally, disable both Real-time Protection and Cloud-delivered Protection by switching it off.
This will let to the temporary shutdown of the windows defender. Reboot your device and try to implement the program again.
Solution 2: Add an Exclusion in Antivirus Program
Apart from the above short-lived treatment, if you want the problematic file to be downloaded, put in the exceptions or exclusions list. Follow the underlined steps to add the file to exclusions.
Step 1: Again, search for windows security. Then move to Manage Settings in virus and threat protection. ( observe first 5 steps of Disable window defender.)
Step 2: Under Manage Settings page, scroll down till Exclusions and click on Add or remove exclusions.
Step 3: Now, select Add An Exclusion and allot the file/folder in the exclusion list.
Run the file/folder to check if the issue persists.
Solution 3: Repair File Explorer
Sometimes window explorer might get malfunctioned. This worsens the various operations of the computer. The above methods are not sufficient to solve the issue. SFC command is to be used. Series of actions to adhere is as follows:
Step 1: Firstly, go on the Windows Search bar. Then, hunt for the command prompt.
Step 2: Secondly, right-click on the command prompt and choose ‘Run as an administrator’.
Step 3: Type the following commands and do hit ‘Enter‘ after each of them:
sfc/SCANFILE=c:windowsexplorer.exe
sfc/SCANFILE=C:WindowsSysWow64explorer.exe
Step 4: If every Operation and command go well, you will receive a message like this;
‘Windows Resource Protection found corrupt files and successfully repaired them.’
Step 5: At last, restart your system to check the error resolved.
Solution 4: Run Disk Cleanup Tool
The disk cleanup tool is a useful tool to clear up the unwanted files/folders from the device. This tool helps to clean up junk files that are of temporary use but takes up large space and corrupts system functioning.
It is advisable to use this tool periodically for the smooth functioning of operations.
Step 1: First of all, Search for ‘Settings’. Then, simultaneously type ‘disk cleanup‘.
Step 2: Next, select either of the commands as the case may be ‘Free up disk space by cleaning unnecessary files’ or ‘Disk Cleanup Desktop app.’
Step 3: A box headed ‘Disk Cleanup- Drive selection’ will pop up. Choose the drive you want to clear up. ( usually, temporary files are noticed in drive C)
Step 4: Now, select the unwanted files you want to remove from your system, and press ‘OK’ to continue.
Step 5: A confirmation message will pop up. Select ‘Delete Files’ to proceed further.
Disk clean up utility will do the task within some time providing room by deleting unwanted temporary files.
Read Next:
Conclusion
One of the above-mentioned fixes will help you to survive through the false or unwanted threat of antivirus software for a sure file. Hence, Virus does trouble your system but be sure about it as VIRUS can be a virus too.